
Product: Easy Weaving Loom
Research:
I already know how to knit and crochet, so I’m ready for a new textile challenge. The Easy Weaving Loom caught my eye the minute I saw it in This Just In. After watching this video I was sure I was up for the challenge. It seems simple enough, and once I get the hang of it I can begin to explore different materials and textures. There are endless possibilities!
Hypothesis:
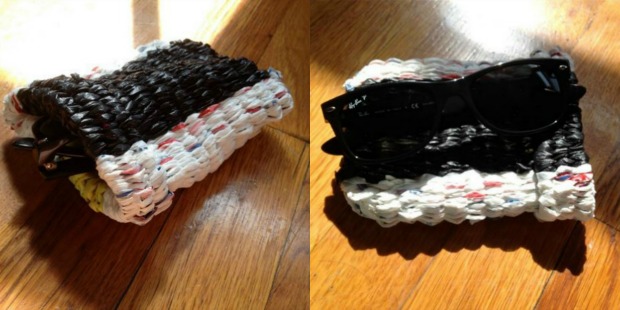
I completed my experiment in June, and I wanted to make something that would be useful right away. The product story claims that when using this item, “In no time you’ll have a professional looking woven masterpiece than can become a stylish scarf, or cellphone or sunglasses case.” A stylish scarf, while fun to make, would not have be seasonally appropriate. And while the projects that are possible are not limited to these three, I decided a sunglasses case was a good place to start. It’s basic and small enough to finish quickly, so I figured it was good practice and I’d be making something to accompany me to the beach in no time!
Experiment:
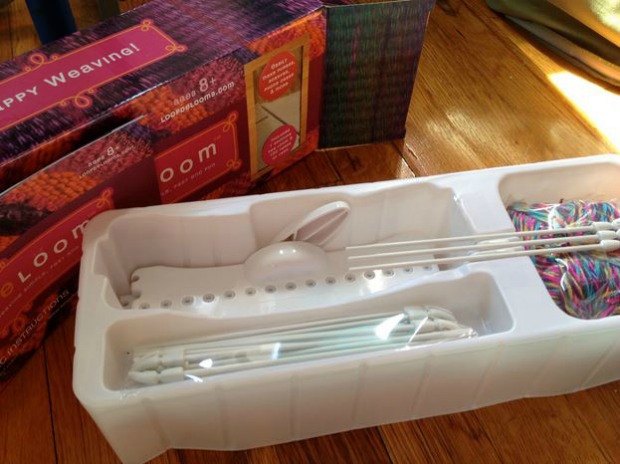
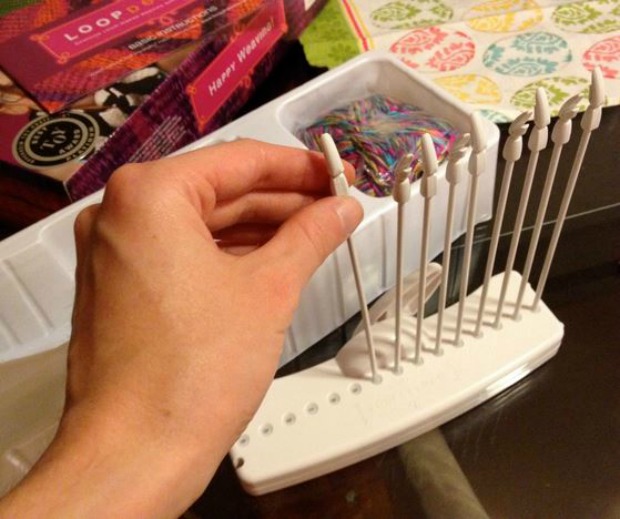
First things first, right out of the box the loom requires some set-up. It’s super easy! Just stick the pegs into the base, making sure to alternate the guides on top (one facing you, the next one facing away from you, etc.).
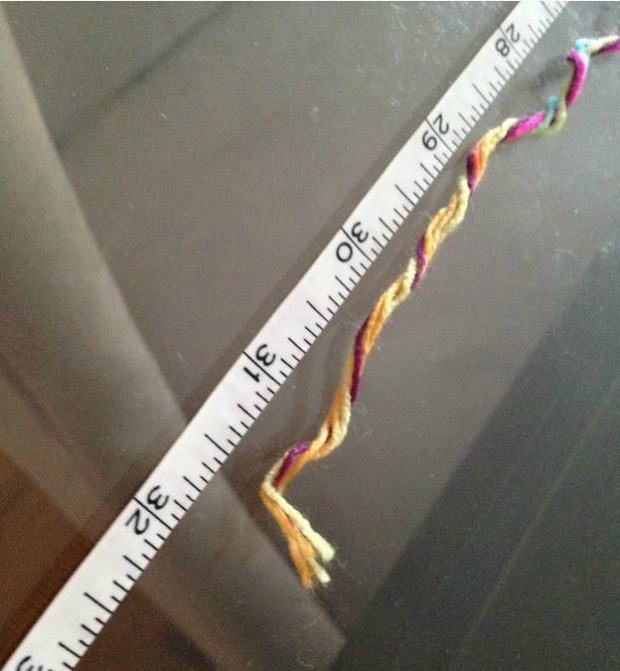
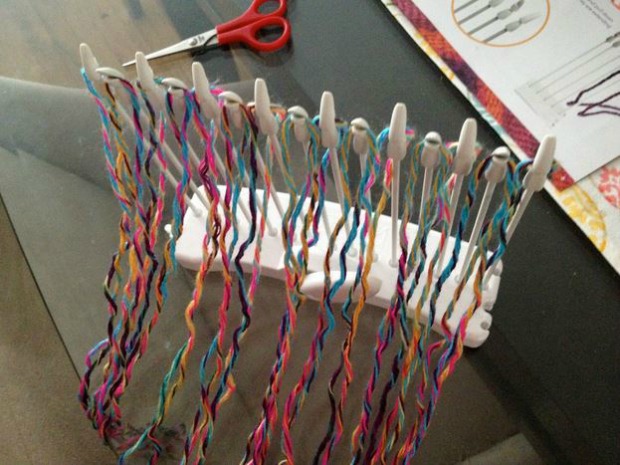
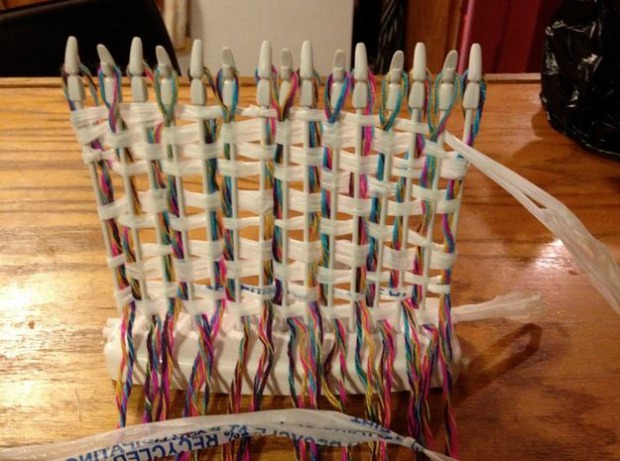
When I finished placing my pegs I was ready to prepare my warp strands. These are the ones that run up and down along the pegs. The instructions say you will need strands that are twice the length you want to end up with, plus 12”. To keep it simple, I decided on a finished length of 10” as suggested in the instructions. I measured and cut my warp strands at 32”.
Each warp strand gets folded in half and inserted into the pegs. How many pegs you use determines how wide the woven piece will be. I used all of the pegs to end up with something 7”wide.
The instructions warn you to make sure the warp strands extend away from the lever. I apparently missed that, and mine went over the lever.
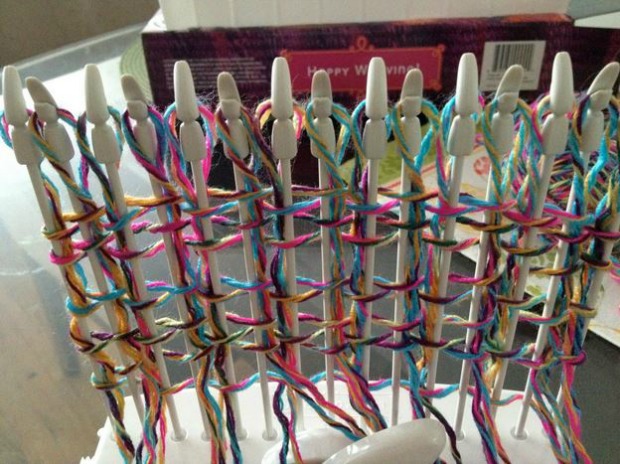
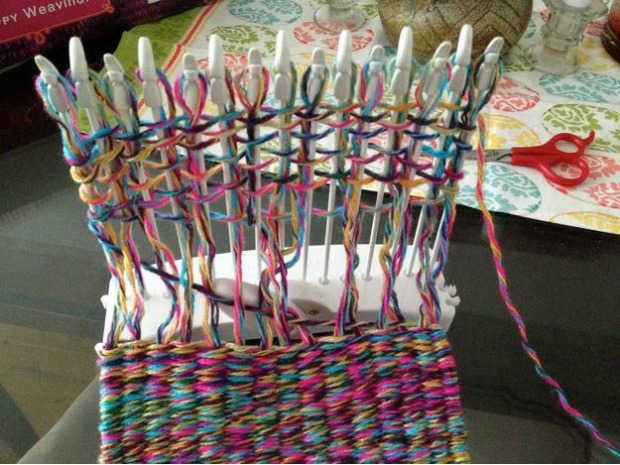
Once all the warp strands were ready, I could get going on the weft strand. This is the long strand that runs horizontally through the warp strands. The instructions and the video do a good job explaining how to do this. At the end of each row, move the lever and go back. That’s it!
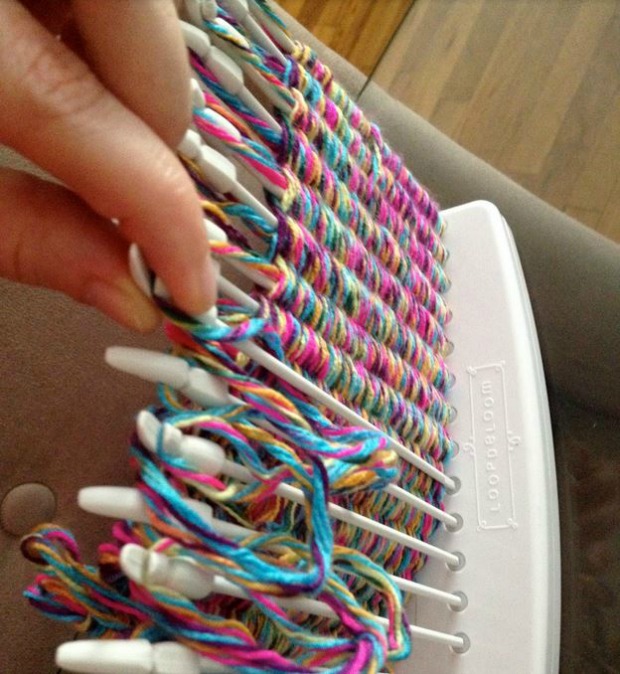
I repeated this process until I had enough to smoosh down.
The lever wasn’t getting in my way yet, so at this point I still had no idea I was working on the wrong side. After a while, the pegs fill up entirely, but you can keep going! I carefully removed each peg and re-inserted it into its slot… and as I did this I began to realize that half of my project was completely covering the lever. The rest of the weaving was a bit more difficult after that.
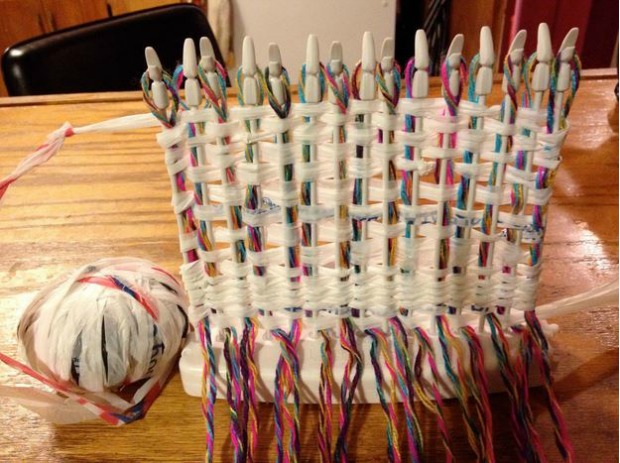
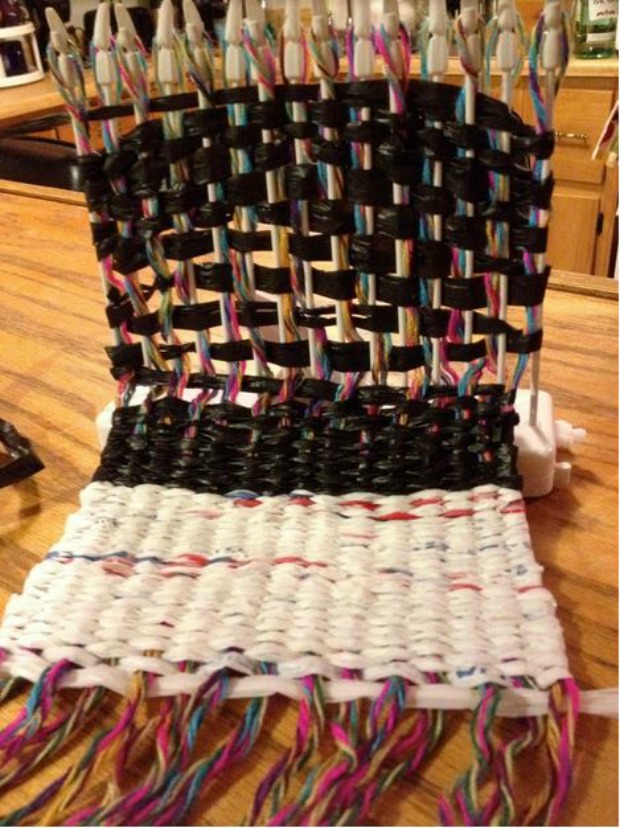
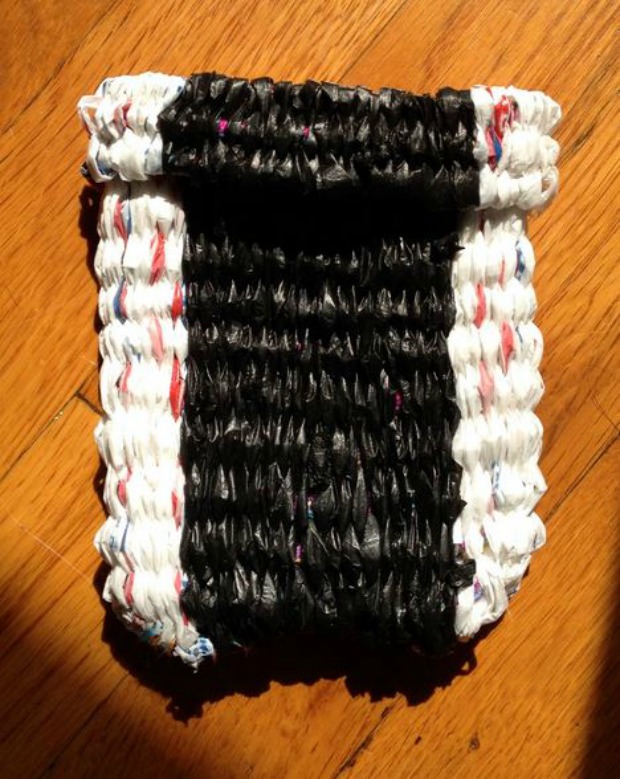
This was my practice run. I thought it would be fun to make my “for real” project using plarn instead of yarn for the weft, but in the interest of keeping it sturdy I still used yarn for the warp strands.

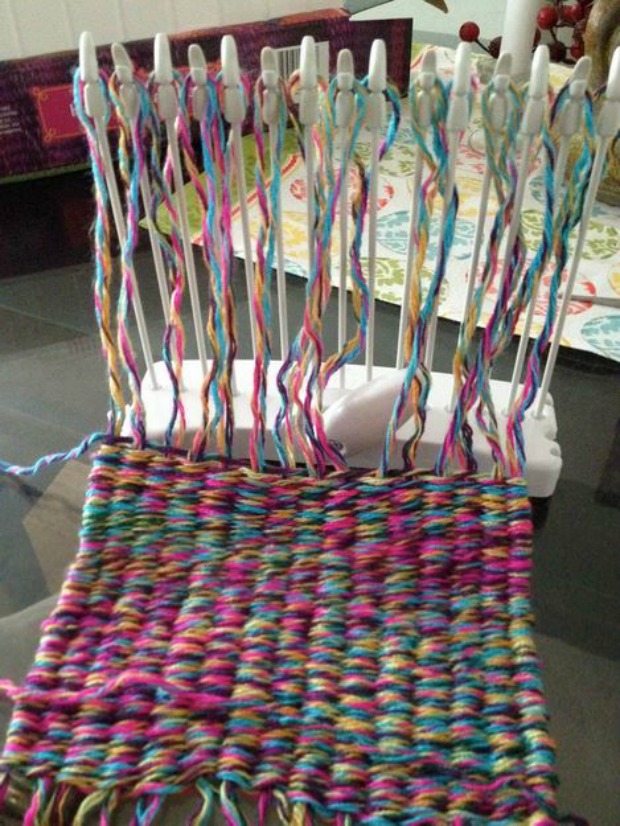
When I reached the length I wanted, it was time to remove the project from the loom and finish the ends. Since I needed to make a pouch, I tied the warp strands together forming a tube.
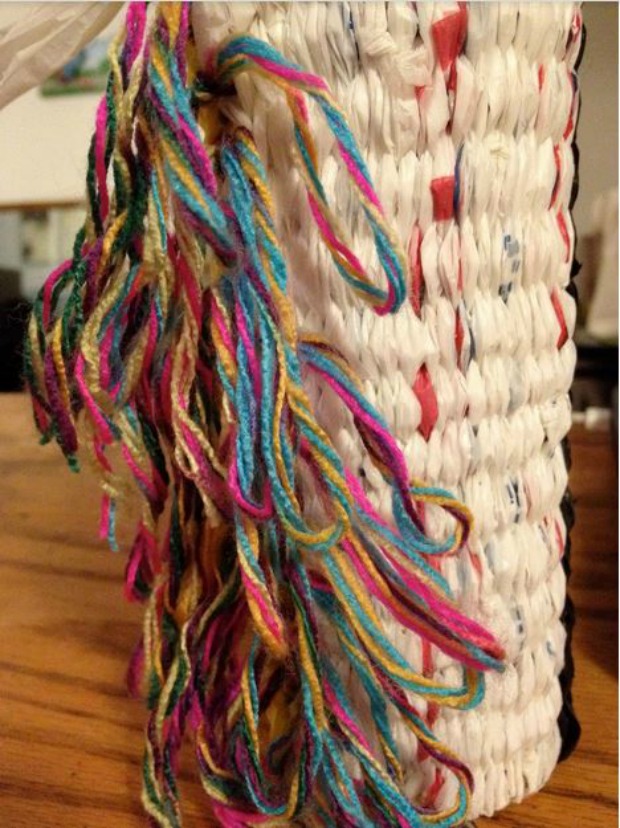
My room mate really enjoyed the rainbow unicorn mane, but that wasn’t part of my design. I trimmed the extra and stitched along one of the open ends to form a pocket.
Finally, I turned the whole thing inside out and folded the top down to create a more finished look.
Conclusion:
I really enjoyed using this product and think I will venture into more projects exploring different sizes and textures. (Fall is on the way, so a scarf might be up next for me!) If you have more than one kit you can link looms together to make even wider pieces without seams. The pocket I made ended up a little wider than I thought, so it doesn’t need to be exclusively for sunglasses.
You do need to be careful when you’re weaving so you don’t pull the weft too tight. I learned that when you do, the pegs get bunched together and this not only makes it more difficult to weave but also changes the width of your finished piece. Because I worked this out in the practice round, the second time went a lot smoother. Also be careful not to skip any pegs. In my practice piece I did skip a peg in one row and didn’t notice until much later when there was a very obvious flaw in the weaving.
The kit doesn’t come with instructions for specific patterns or projects. Be creative or search online to get inspired!

1 Comment
[…] you may find us learning how to knit, coloring for fun, mastering tie-dye techniques, and making weaving look easy. Given that we’re all more susceptible to introspective projects during the winter […]